

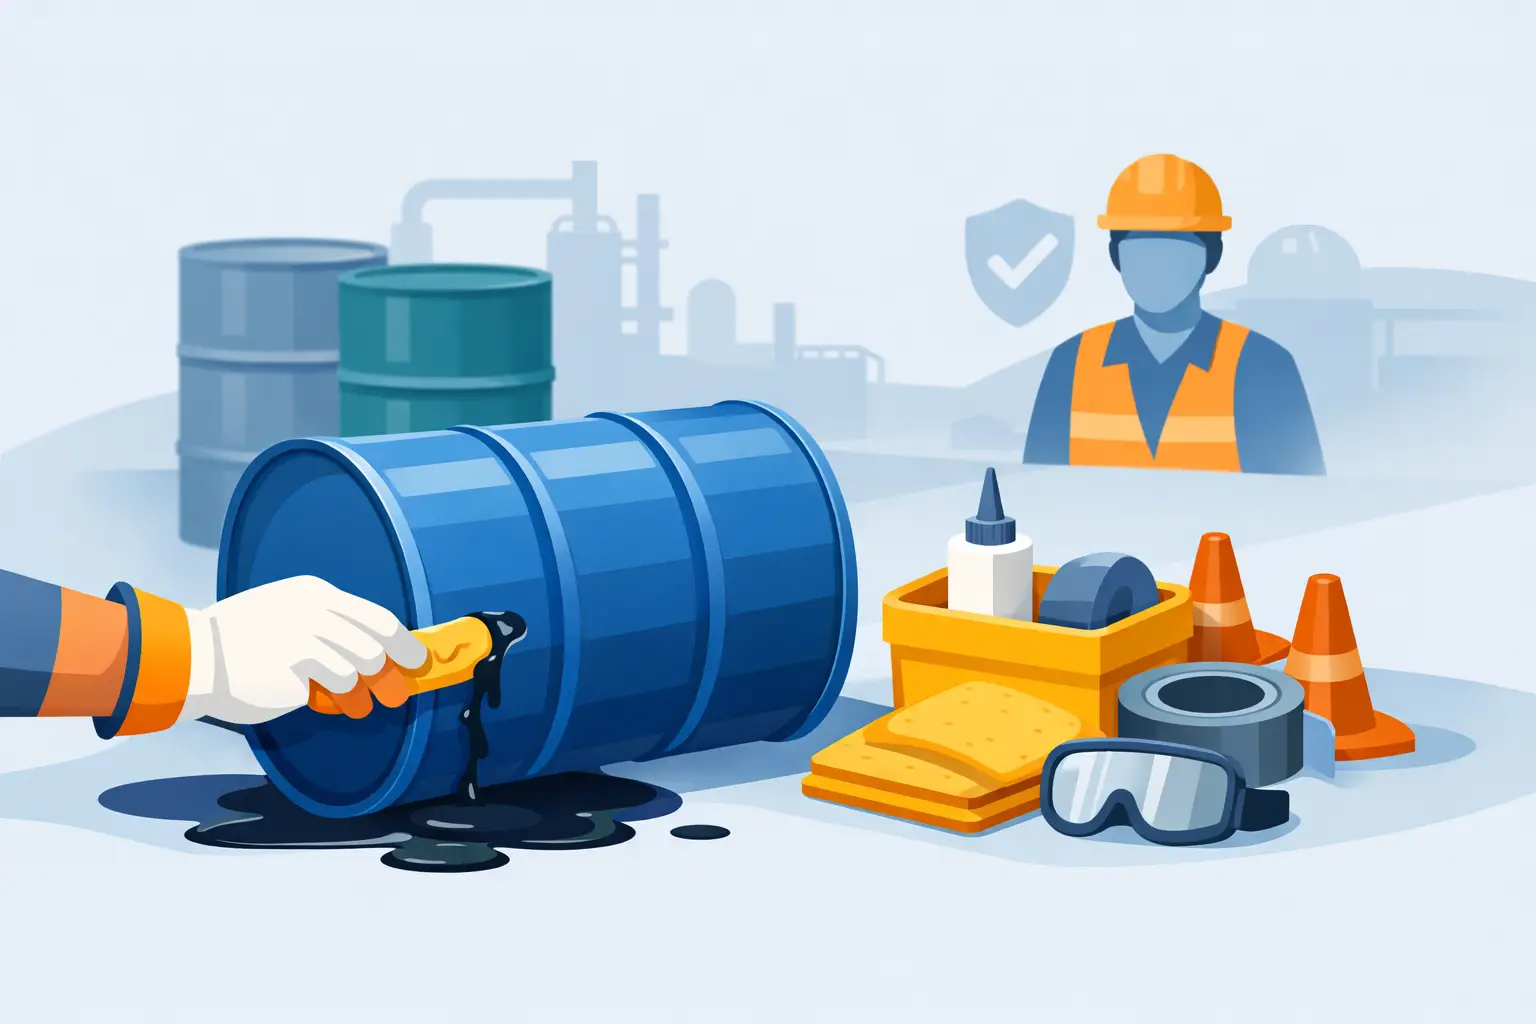
A leaking drum is an active containment failure, not a housekeeping issue. Whether it holds oil, chemicals, solvents, or wash water, the first priority is to stop the material from reaching drains, soil, stock, equipment, or people. Knowing how to seal leaking drums starts with controlling the area, identifying the leak, and choosing a repair method that is compatible with the drum contents.
For facility managers, EHS teams, and maintenance crews, speed matters. But a quick repair that is chemically incompatible, applied to a contaminated surface, or used on a structurally weakened drum can create a larger incident later. Treat every damaged drum as a potential spill response event until it has been assessed and secured.
Make the Area Safe Before Repairing the Drum
Do not begin by reaching for tape, putty, or a patch. First, protect personnel and prevent the released material from spreading. Isolate the area and keep unnecessary staff away. Review the product label and safety data sheet to confirm the hazards, required personal protective equipment, and incompatible materials.
Place absorbent socks or spill berms around the drum to contain the release. Use suitable absorbent pads, pillows, or granules to recover pooled liquid. For corrosive chemicals, use chemical-compatible absorbents rather than general-purpose products. If the material is flammable, remove ignition sources and follow the site’s fire response procedures.
A drum that is leaking from a bung, lid, seam, puncture, or heavily corroded wall presents different risks. Establishing the leak source before selecting a repair product avoids wasting time and prevents an unsuitable temporary fix.
Assess the Leak Source and Drum Condition
A small puncture in an otherwise sound steel drum may be temporarily repairable. A split seam, badly rusted wall, bulging drum, damaged chime, or failed closure usually calls for overpacking or immediate transfer to a compatible replacement container. Never assume a visible leak is the only weakness. Inspect the entire drum, including the base, underside, bungs, lid ring, and surrounding pallet.
Leaks at bungs, plugs, and closures
A loose bung or plug is often the simplest failure to control. If it is safe to do so, carefully tighten the closure using the correct drum wrench. Do not overtighten plastic bungs or force a damaged thread, as this can worsen the leak. Replace a worn gasket, distorted bung, or damaged cap with a compatible component.
If the drum is pressurized, swollen, hot, or showing signs of chemical reaction, do not open or tighten it without a qualified assessment. Pressure release and venting must be managed under site procedures and the chemical manufacturer’s guidance.
Punctures and small holes
A clean puncture in the sidewall may be controlled using an emergency drum repair plug, patch, or epoxy compound designed for the drum material and the chemical involved. These products are intended for temporary containment while the contents are transferred or the drum is placed into an overpack.
The repair area must be as clean and dry as the product instructions require. Oil, chemical residue, rust, and moisture can prevent a patch or compound from bonding. Use only cleaning methods that are safe for the material being contained and that do not increase vapor or exposure risks.
Corrosion, seam failure, and structural damage
Corrosion is rarely a one-spot problem. If a drum wall has thinned enough to leak, the surrounding metal may be close to failure. Similarly, a leaking seam indicates that the container’s integrity is compromised beyond a simple surface patch.
In these cases, do not rely on a repair compound as a long-term solution. Place the drum in a compatible salvage drum or overpack, or transfer the contents using suitable pumping and grounding controls where required. The damaged drum should then be managed as contaminated packaging in accordance with your waste procedures.
How to Seal Leaking Drums With the Right Temporary Repair
The correct sealing method depends on the liquid, the drum construction, the size and location of damage, and whether the container can be safely moved. A temporary repair should buy time for controlled transfer or overpacking. It should not become a substitute for sound storage practices.
For a minor leak at a closure, a compatible replacement bung, gasket, or cap may provide the most reliable solution. For pinholes and small punctures, emergency leak-sealing plugs and chemical-resistant repair compounds are common options. For a larger hole in a steel drum, a drum patch with a clamping or mechanical fastening method may be appropriate when specified for the application.
Avoid improvised repairs such as duct tape, rags, wood plugs, or household sealants. They may not resist solvents, oils, acids, or temperature changes, and they can fail without warning. They also make it harder to inspect the drum and may complicate waste handling.
Before applying any sealing product, confirm:
- The product is compatible with the spilled material and drum material.
- The repair is rated for the hole size, pressure conditions, and location of the leak.
- The drum is stable, upright, and protected by secondary containment.
- Personnel are wearing the PPE specified by the safety data sheet and site assessment.
- A transfer container, salvage drum, or overpack is ready if the repair does not hold.
Apply the repair according to the manufacturer’s instructions. Observe any required curing time and do not move the drum aggressively while the material sets. Once the leak appears controlled, continue monitoring the repair and containment area. A stopped drip does not prove the drum is safe for continued storage or transport.
Overpack or Transfer: Know When Sealing Is Not Enough
An overpack is often the fastest and safest option for a compromised drum. It provides secondary containment around the original package and allows the drum to remain upright while the site arranges transfer, disposal, or further assessment. Select an overpack with sufficient capacity and chemical compatibility for the damaged drum and its contents.
For drums that are severely corroded, split, punctured below the liquid line, or difficult to patch safely, transferring the contents may be necessary. Use compatible pumps, hoses, bonding and grounding equipment for flammable liquids, and a receiving drum that is properly labeled and in good condition. Do not manually tip a weakened drum unless the process has been assessed and controlled.
Transportation adds another consideration. A drum that has leaked should not be sent out as though it were intact. Packaging, labeling, documentation, and carrier requirements may apply, particularly for hazardous materials. Your EHS team or dangerous goods specialist should confirm the correct handling route before the container leaves the site.
Prevent the Next Leaking Drum
Most drum leaks are preventable through routine inspection and correct storage. Store drums on suitable spill pallets or secondary containment systems, keeping incompatible materials segregated. Protect containers from vehicle impact, direct weather exposure, standing water, and excessive heat. Drums should remain upright with closures secured, and they should not be stacked unless the packaging and storage system are designed for it.
Inspect incoming drums before acceptance and check stored drums on a scheduled basis. Look for wet spots, rust around bungs and chimes, dents, bulging, faded labels, and residue on pallets. Rotate stock so older drums are used first, particularly when storing corrosives or materials with limited shelf life.
Keep a spill kit close to drum storage and transfer points. A practical kit should include compatible absorbents, containment socks, waste bags, gloves, goggles, and other PPE suited to the chemicals handled on site. For larger storage areas, portable bunds, drain covers, and salvage drums can shorten response time when a failure occurs.
Ocean Safety Supplies supports industrial teams with spill control, secondary containment, emergency response equipment, and dependable stock for routine readiness and urgent replacement needs. Selecting the right equipment before an incident gives your team more options when minutes matter.
A temporary seal can stop a release, but the safest outcome is a controlled next step: overpack the drum, transfer its contents, clean the area, document the incident, and remove the failed container from service. That approach protects people, keeps operations moving, and prevents a small leak from becoming an environmental event.