

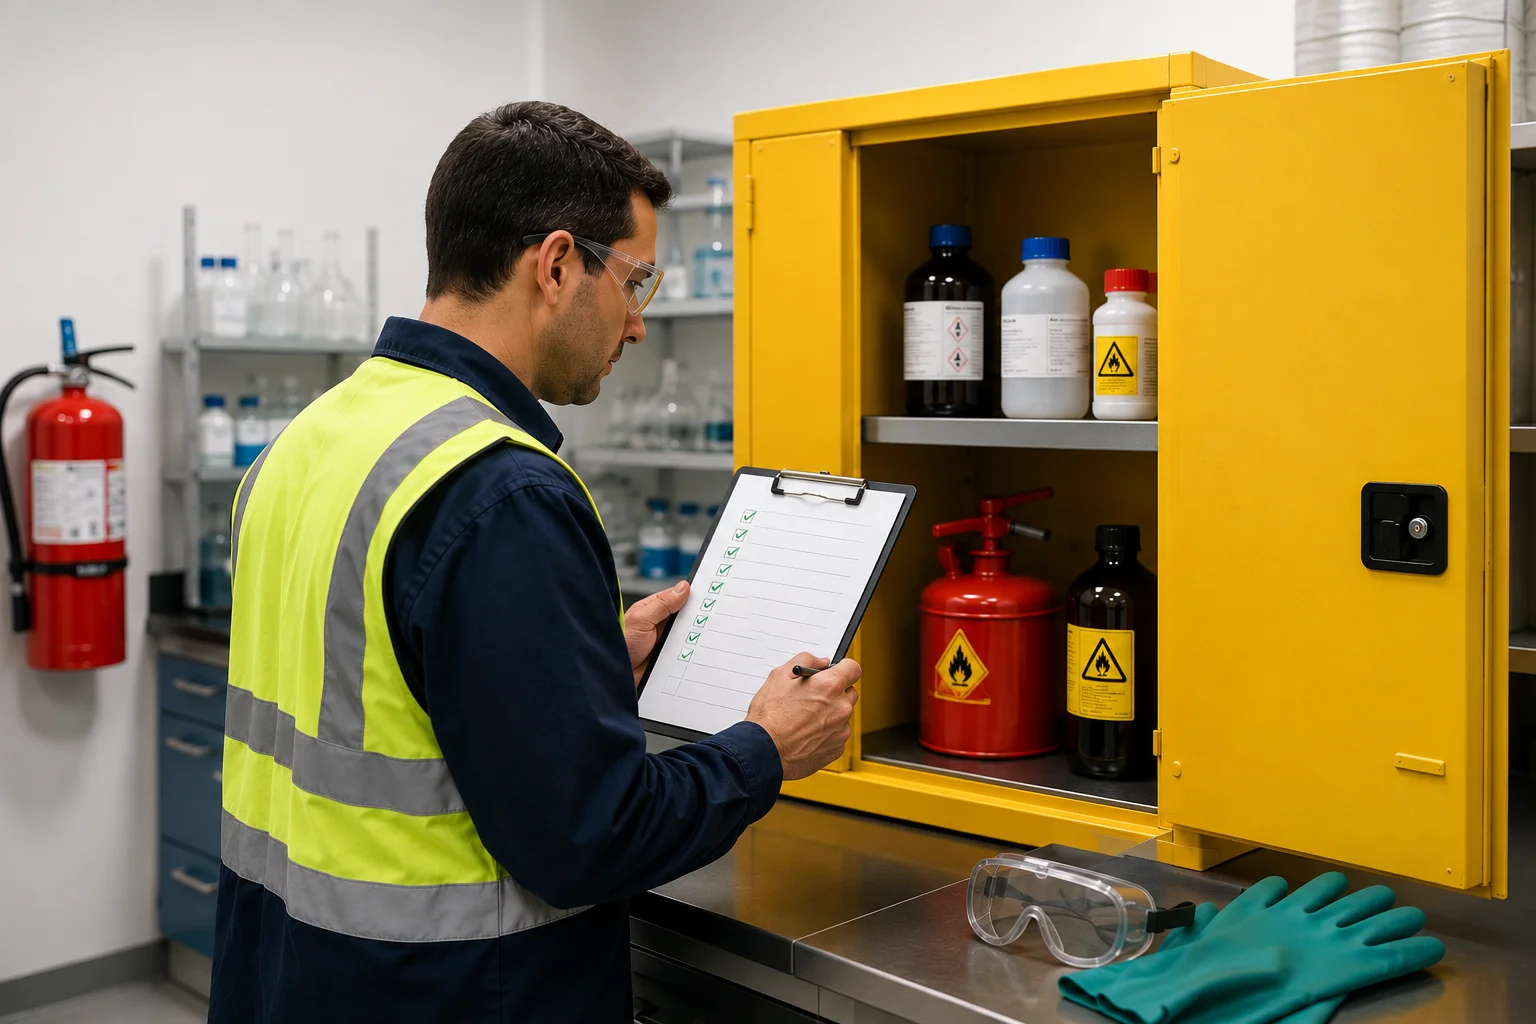
A safety cabinet can look serviceable from across the room while a leaking container, damaged door seal, or incompatible chemical inside creates a serious exposure and fire risk. Knowing how to inspect safety cabinets gives facility, EHS, and maintenance teams a practical way to identify these issues before they affect people, stock, or operations.
Inspection should cover more than the cabinet shell. The cabinet, its location, its contents, and the surrounding emergency equipment all need to work together. The right inspection frequency depends on the cabinet type, the materials stored, usage levels, and site procedures, but a regular visual check paired with documented formal inspections is a sound operating practice.
Start With the Cabinet Type and Its Intended Use
Inspect the cabinet against the purpose it was purchased to serve. A flammable liquid safety cabinet, corrosive storage cabinet, pesticide cabinet, gas cylinder cabinet, and general hazardous-material cabinet do not have identical construction or storage rules. Confirm the cabinet label is legible and matches the hazard class of the materials stored inside.
For example, a flammable liquids cabinet should not become a convenient overflow location for oxidizers, compressed gas cylinders, or highly corrosive chemicals. Likewise, an acid cabinet may need specific corrosion-resistant liners, trays, or ventilation arrangements based on the chemicals in use and the manufacturer’s instructions.
Review the current chemical inventory and safety data sheets before the physical inspection when possible. This helps the inspector recognize whether the cabinet contains incompatible materials, expired products, or containers requiring a different storage solution. If contents have changed since the cabinet was installed, its original configuration may no longer be appropriate.
Check the Exterior Before Opening the Doors
Begin with the cabinet closed. Look for dents, deep scratches, corrosion, paint blistering, warping, loose fasteners, or impact damage from forklifts and pallet jacks. Damage is not only cosmetic. A distorted cabinet body or door can affect closure, containment, and fire performance.
Check that the cabinet stands level and stable on the floor. It should not rock, lean, or be supported by makeshift packing. Inspect the base area for signs of leaked liquid, rust, chemical staining, or accumulated debris. Any unexplained stain near a cabinet should be treated as a potential release until the source is identified.
The cabinet must also be accessible. Keep aisles clear, avoid blocking exits or emergency equipment, and ensure staff can open the doors without moving cartons, drums, or tools. Cabinet placement should comply with the applicable fire code, site risk assessment, manufacturer instructions, and requirements from the authority having jurisdiction.
Inspect Labels and Safety Markings
Confirm that hazard labels, cabinet identification, warning signs, and capacity markings are clean and readable. Personnel should be able to recognize the cabinet’s contents quickly during normal work and an emergency.
Apply or replace labels if they are faded, peeling, or obscured. Where a cabinet stores site-specific chemicals, an exterior contents label or reference to the chemical inventory can help responders and operators make faster decisions. Do not rely on cabinet color alone to identify the hazard class.
Inspect Doors, Latches, and Vent Openings
Open and close each door several times. Doors should move smoothly, align correctly, and fully close without being forced. Test the latch and handle to ensure they engage securely. For self-closing models, confirm that the doors close completely and reliably from an open position. Do not defeat a self-closing mechanism by tying doors open, wedging them, or storing items in the door path.
Inspect hinges, door gaps, gaskets, and closing hardware for damage, contamination, or corrosion. On fire-rated flammable storage cabinets, door alignment and closure are particularly critical. If a fusible-link system is fitted, inspect it visually for corrosion, paint buildup, or obstruction. Never test it using heat or flame.
Look at any vent ports. Many flammable liquid cabinets are supplied with capped vent openings and are designed to operate with those caps in place unless mechanical ventilation is specifically required and properly engineered. Do not remove caps or connect improvised ducting simply to control odor. Ventilation can change cabinet performance and may create a path for fire or vapor movement if it is not designed correctly.
Examine the Interior and Spill Containment Area
Once the doors are open, inspect the interior under adequate lighting. Look for residue, wet spots, crystals, corrosion, odor, damaged coatings, and staining on the cabinet walls, shelves, and base. A chemical odor can indicate a loose cap, a degraded container, or a spill that needs immediate attention.
Check the cabinet sump or built-in spill containment area. It must be clean, intact, and free from accumulated liquids. If liquid is present, identify it before cleanup, use compatible spill-control materials and personal protective equipment, and manage the resulting waste according to site procedures. Do not return spilled material to its original container unless an approved procedure specifically allows it.
Inspect shelves for bending, corrosion, loose clips, or missing supports. Verify that shelf load limits are not exceeded and that containers are not stacked in a way that could fall when a door is opened. Heavy containers should sit low in the cabinet, while smaller items should be arranged so labels remain visible.
Check Every Container, Not Just the Cabinet
A cabinet cannot compensate for poor container condition. Inspect containers for cracks, swelling, corrosion, leakage, damaged caps, missing labels, and signs of pressure buildup. Ensure each container is closed when not in use and that secondary containers are suitable for the chemical they hold.
Pay close attention to containers stored near the front edge of shelves or directly above one another. A minor bump can turn poor arrangement into a spill. Remove empty, obsolete, or expired chemicals promptly through the approved waste process rather than allowing them to occupy cabinet space indefinitely.
Confirm Capacity, Segregation, and Storage Discipline
Overfilled cabinets are difficult to inspect and more likely to suffer container damage. Confirm that the quantity of stored material is within the cabinet’s rated capacity and within applicable site and regulatory limits. Capacity rules may differ according to the liquid class, container size, room layout, sprinkler protection, and local fire requirements.
Segregate incompatible chemicals. Flammables should be separated from oxidizers and ignition sources. Acids and bases may require separation, and certain acids require more specific controls due to their reactivity. Chemical compatibility should be determined from safety data sheets, chemical manufacturer guidance, and the site’s approved storage matrix, not by assumption.
Do not use a safety cabinet as a general supply cupboard. Paper, packaging, tools, food, personal items, and unrelated maintenance stock reduce usable space and can complicate an emergency response. Good storage discipline makes inspections quicker because unsafe conditions are easier to see.
Record Findings and Act on Defects
Document each inspection using a consistent checklist. Record the cabinet location, type, asset or serial number, date, inspector, observed condition, corrective action, and completion date. Photographs are useful when documenting corrosion, door misalignment, leaks, or impact damage.
A weekly operator walk-through may be appropriate for high-use areas, while a more detailed monthly inspection can verify hardware, housekeeping, labels, and inventory. Sites handling high volumes of hazardous liquids or operating around the clock may need more frequent checks. Your inspection schedule should reflect actual risk rather than a calendar exercise.
If you find a leaking container, active corrosion, a damaged door, failed latch, compromised sump, or incompatible chemicals, take action immediately. Restrict access if necessary, transfer materials only using a safe and approved method, and arrange replacement or repair. A cabinet with impaired fire protection or containment should not remain in service simply because it still closes.
Keep Response Equipment Ready Nearby
Inspect the area around the cabinet as part of the same routine. Appropriate spill kits, absorbents, waste bags, and personal protective equipment should be available for the materials stored. Fire extinguishers, emergency showers, and eyewash stations must remain accessible where the hazard assessment requires them.
Ocean Safety Supplies supports facilities with safety cabinets, spill-control products, containment equipment, and practical supply readiness for routine inspections and urgent replacements. When a cabinet fails inspection, fast access to compatible equipment helps prevent a small defect from becoming an operational interruption.
A well-run cabinet inspection is a direct check on whether hazardous materials are truly controlled at the point of storage. Keep the routine specific, document what you find, and correct defects while they are still straightforward to manage.