

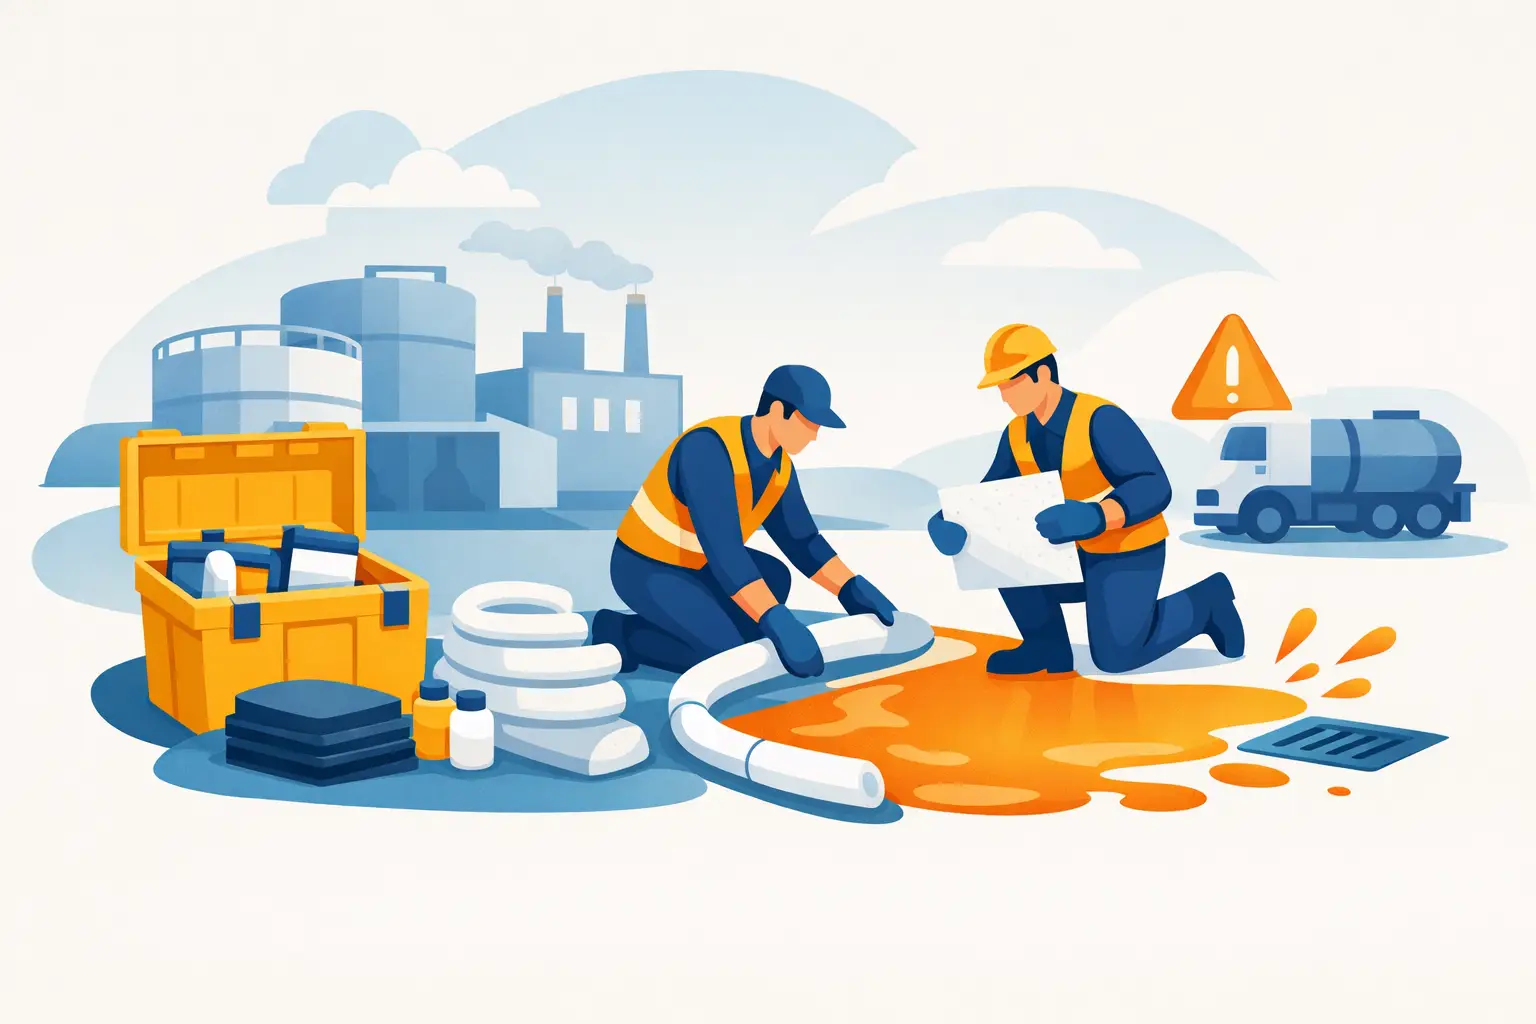
A spill kit only protects people, property, and the environment when the right materials reach the spill quickly and are used in the right order. Knowing how to deploy spill kits is therefore a practical requirement for warehouse teams, plant operators, maintenance crews, laboratories, and transport operations – not simply a compliance exercise.
The first priority is always to protect people. The second is to stop the spill from traveling to drains, doorways, stock areas, soil, or waterways. Cleanup comes after the release is controlled. A well-positioned, properly selected spill kit gives trained personnel the equipment to take those steps without losing valuable time.
Start With a Safe Scene Assessment
Before opening the spill kit, identify what has been released, where it is moving, and whether site personnel can safely respond. Check container labels, Safety Data Sheets, process information, and the amount involved. Assess whether vapors, fire risk, chemical reactivity, traffic movement, or confined spaces could make the situation unsafe.
Do not treat every spill as a routine cleanup. An unknown substance, a large release, a flammable liquid near an ignition source, a highly corrosive chemical, or any spill entering a drain may require evacuation, isolation of the area, notification of emergency responders, and escalation under the facility emergency plan. Spill kits are intended for trained staff managing releases within their capability.
If the spill can be handled internally, stop nearby work and control access. Keep forklifts, pedestrians, and unnecessary personnel away from the area. Place warning signs or barriers where needed. This prevents slips, chemical contact, and the common problem of tracking contamination across a facility on shoes or wheels.
Select the Correct PPE and Spill Kit
Put on the personal protective equipment specified for the material before approaching the spill. Depending on the hazard, this may include chemical-resistant gloves, goggles, a face shield, protective coveralls, and suitable footwear. PPE supplied in a spill kit is useful for immediate response, but it must match the substance and exposure risk. Gloves that are suitable for oil may not provide suitable protection against solvents or corrosives.
The absorbent type matters just as much. General-purpose or universal spill kits are designed for common industrial liquids such as coolants, water-based fluids, oils, and many non-aggressive chemicals. Oil-only kits repel water and are suitable for hydrocarbons and petroleum-based liquids, especially where a spill occurs outdoors or on water. Chemical spill kits use absorbents and accessories selected for a wider range of hazardous chemicals. Specialty kits may be required for acids, caustics, mercury, biohazards, or other defined risks.
Using the wrong kit can create avoidable exposure or leave the material uncontrolled. Facilities should position spill kits according to the materials handled in each area rather than relying on one general kit for the entire site.
How to Deploy Spill Kits in the Right Order
For a manageable spill, work from the outside in. This is the most reliable way to limit spread while keeping responders out of the liquid as much as possible.
1. Stop the source where it is safe to do so
Close a valve, upright a drum, place a compatible temporary plug over a leak, or move an intact container from the affected area if that can be done without exposure. There is little value in absorbing a spill that is still flowing freely from its source.
Avoid actions that could increase the release. A damaged drum may need to be placed into an overpack drum rather than lifted or rolled. A leaking container on a pallet may need secondary containment underneath before it is moved.
2. Protect drains and low points first
Liquids often reach a drain before a response team has absorbed the main pool. Use drain covers, drain mats, plugs, or barriers immediately when there is a risk of entry into floor drains, channels, or grates. For outdoor areas, identify the likely path toward stormwater systems, soil, and waterways.
Next, use absorbent socks, booms, or temporary bunding to create a perimeter around the spill. Position these materials downhill or in the direction of flow, then complete the containment ring around the liquid. Do not walk through the spill to place them. Work from clean ground whenever possible.
3. Use pads, pillows, or granules to recover the liquid
Once the spill is contained, place absorbent pads directly on the liquid. Start at the perimeter and move inward so the spill does not escape as the pads become saturated. Pillows are useful for larger pooled areas, beneath leaking machinery, or inside containment pallets because they hold higher volumes in a smaller footprint.
Loose absorbent granules can be effective on rough concrete, uneven outdoor surfaces, or where a liquid has spread into cracks. They are less suitable in windy areas and can create additional cleanup work. Pads and rolls are often faster to place and collect in active work areas.
Replace saturated materials before they release liquid under pressure. Do not compress pads or socks to recover absorbed fluid unless the procedure, equipment, and waste controls specifically allow it.
4. Clean the final residue without spreading it
After bulk liquid has been absorbed, use additional pads, wipes, or compatible cleaning methods to remove the remaining film. Inspect joints, expansion gaps, floor drains, equipment bases, and the underside of nearby pallets. A surface that looks dry may still be slippery or contaminated.
For corrosive or reactive materials, follow the site procedure and Safety Data Sheet. Neutralization should only be carried out by trained personnel using approved agents and only when it is appropriate for the chemical involved. Adding the wrong neutralizer can create heat, fumes, or splashing.
Package Spill Waste Correctly
Used absorbents, contaminated PPE, damaged containers, and disposable tools must be handled as potentially hazardous waste until the material is identified and the disposal route is confirmed. Place waste in the bags, drums, or other compatible containers supplied or specified by your site procedure. Seal and label the container clearly with the contents, hazard information, and date.
Do not put contaminated absorbents into general trash simply because the original spill was small. Disposal requirements depend on the spilled substance, local and federal regulations, and the facility’s waste management program. Maintain any required spill report, waste record, and incident documentation.
If material reached a drain, soil, or waterway, treat the event as an environmental release and follow the applicable notification and reporting procedures immediately. Early reporting gives the organization the best chance to contain the impact and meet its obligations.
Restock Before the Next Shift
A used spill kit is not ready equipment. After the incident, replace every pad, sock, bag, glove, drain cover, and accessory that was used or contaminated. Check whether the remaining inventory can handle the largest credible spill in that location. A small portable kit may be suitable at a workbench, while a drum storage area, loading dock, or chemical transfer point may need wheeled kits, extra absorbent rolls, overpack drums, drain protection, and secondary containment.
This review is also the right time to identify why the spill happened. Look at damaged packaging, poor transfer practices, insufficient bunding, unsecured drums, equipment leaks, and traffic routes. Correcting the cause reduces repeat incidents more effectively than simply replacing absorbents.
Position Kits Where Response Time Is Shortest
Spill kits should be visible, labeled, and placed close to the risk – but not so close that a release could block access to them. Locations near chemical storage, maintenance bays, loading areas, fuel points, laboratories, waste accumulation areas, and marine operations usually need dedicated response supplies.
Make kit inspections part of the normal safety routine. Confirm that contents are complete, packaging is intact, PPE is in usable condition, and employees understand the response limits for their role. Practical drills are especially valuable because they reveal whether a kit is easy to reach, whether drain protection is available quickly, and whether the team knows which absorbent to select.
Fast, controlled response depends on preparation well before a container leaks. With the correct spill kit, trained personnel, and a clear site procedure in place, your team can contain a release decisively and return the area to safe operation with confidence.