
A small spill rarely stays small for long. One split drum, a leaking hydraulic line, or a knocked-over chemical container can stop operations, expose workers, and turn a manageable incident into a reporting problem. A practical spill response checklist helps teams act fast, contain the release, and use the right equipment without wasting time.
Why a spill response checklist matters
For most facilities, the first few minutes decide the outcome. If the spill is identified correctly and the right absorbents, containment tools, and PPE are used immediately, cleanup is usually straightforward. If the response is delayed or improvised, the spill can spread into drains, traffic lanes, storage areas, or marine environments.
That is why a checklist matters. It creates a repeatable process for warehouse teams, maintenance staff, EHS personnel, marine operators, and contractors. It also reduces a common problem on industrial sites – having spill products on hand but no clear sequence for using them.
The right checklist should be simple enough to follow under pressure and specific enough to match the hazards on site. An oil-only response near water does not look the same as an acid spill in a plant room. A universal kit may be sufficient in one area, while another location needs chemical absorbents, drain protection, and emergency eyewash nearby.
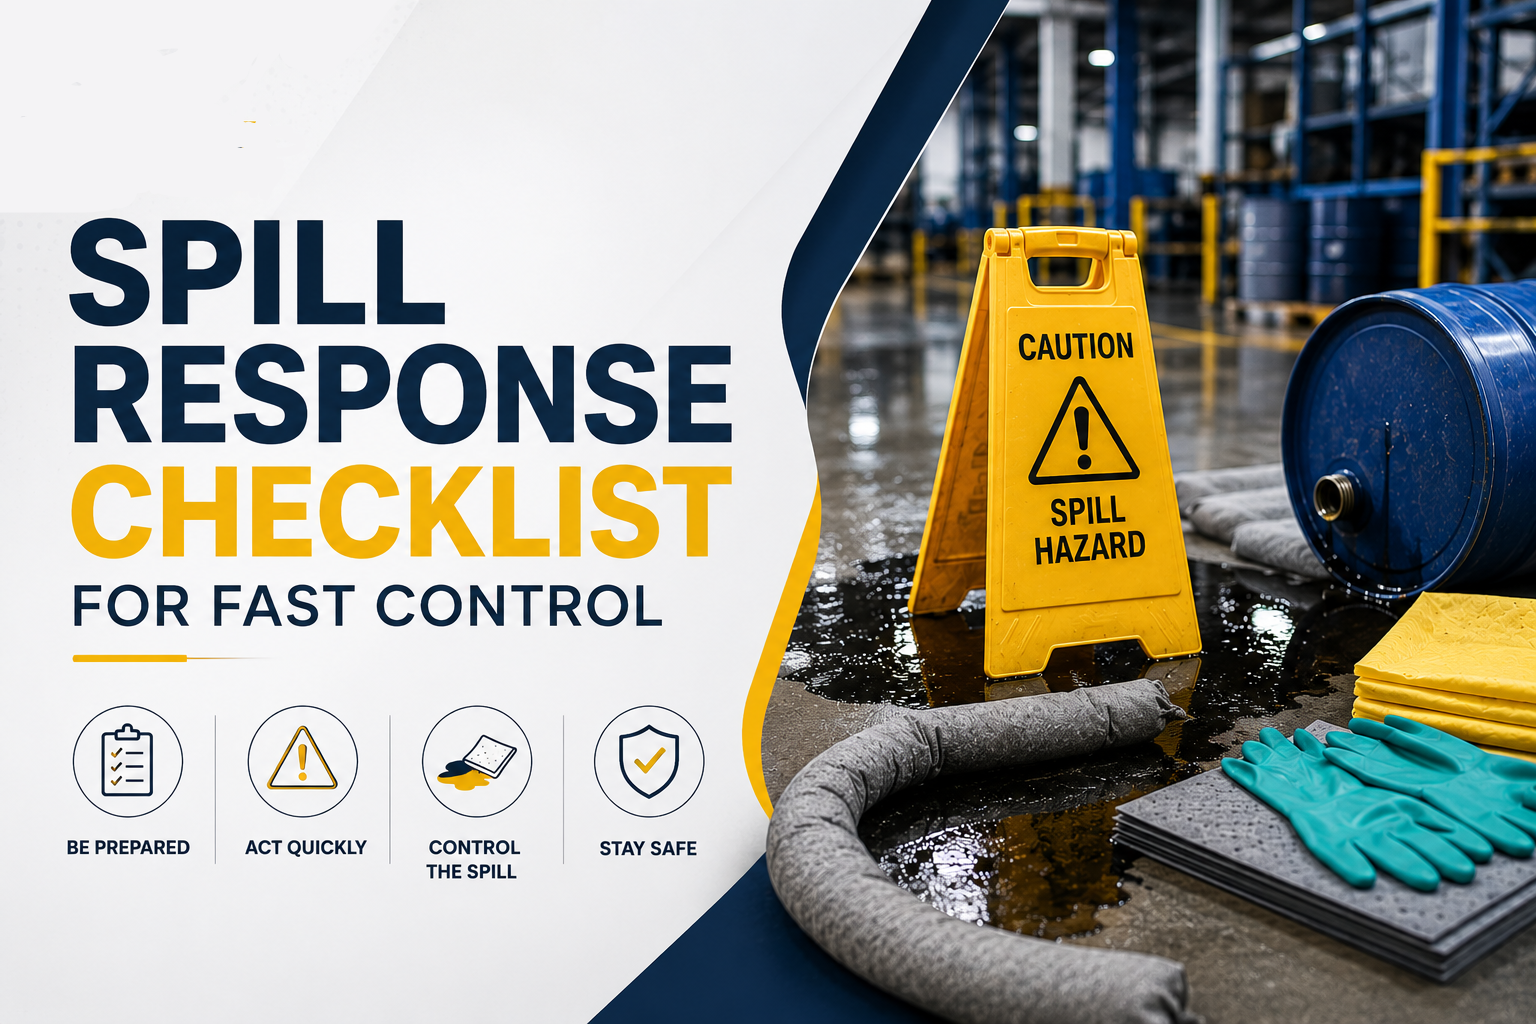
The core spill response checklist
A useful spill response checklist starts before any absorbent touches the floor. The first priority is always personal safety. If the material is unknown, highly flammable, toxic, or reacting, isolate the area and escalate immediately. Cleanup should never begin until the responder understands the basic hazard.
1. Identify the spilled material
Confirm what has been released, how much, and where it is moving. Check the container label, SDS, process line markings, or site inventory records. This step affects everything that follows, from PPE selection to disposal.
If the material cannot be identified quickly, treat it as hazardous and restrict access. Many response failures begin with assumptions. Oil, coolant, solvent, and corrosive liquids can look similar on the floor, but they require different handling.
2. Protect people first
Secure the area and keep non-essential personnel out. If there is vapor, fire risk, splash risk, or contact hazard, use the correct PPE before responding. Depending on the product, that may mean chemical gloves, goggles, face shield, coveralls, or respiratory protection.
If the spill creates an immediate health risk, activate emergency procedures first. Eyewash stations, emergency showers, alarms, and evacuation controls should be part of the wider response plan, not treated as separate systems.
3. Stop the source if it is safe to do so
A checklist should always ask one question early: can the release be stopped safely? Closing a valve, uprighting a container, plugging a leak, or shutting down equipment can prevent a minor incident from becoming a major cleanup.
This depends on the situation. If stopping the source exposes the responder to chemical splash, energized equipment, or unstable containers, the safer choice is to isolate and escalate. Speed matters, but control matters more.
4. Contain the spill before it spreads
Containment is where the right products make the biggest difference. Use absorbent socks, booms, drain covers, spill berms, or temporary bunding to stop migration. In warehouse and production settings, the immediate goal is often to protect drains, doorways, walkways, and adjacent stock.
On marine or outdoor sites, conditions change quickly. Rain, slope, traffic, and water flow can spread contamination far beyond the original release point. In those cases, oil booms, portable containment, and larger capacity absorbents may be necessary from the start.
5. Select the correct absorbent and cleanup materials
This is the step many teams rush, and it is where mismatched stock creates delays. Oil-only absorbents are ideal for hydrocarbons and water-based separation scenarios, especially near shorelines, sumps, and marine operations. Universal absorbents work for general industrial spills such as coolants, water, and light oils. Chemical absorbents are the safer choice for aggressive liquids including acids and caustics.
The checklist should match the product to the risk. For example, a maintenance bay may need universal pads and socks, while a chemical storage area should have a dedicated chemical spill kit, neutralizing agents where appropriate, and compatible disposal bags.
6. Clean from the outside in
Once the spill is contained, absorb and recover the liquid in a controlled sequence. Start at the perimeter and move inward. This reduces tracking and keeps the spill from spreading under foot traffic or equipment wheels.
For larger incidents, use a staged approach. Recover free liquid first, then apply absorbents to residual contamination, and finally inspect the surrounding area for splashes, seepage under pallets, or migration into cracks and channels. A quick surface wipe is rarely enough on textured floors or around machine bases.
7. Handle waste correctly
Used absorbents, contaminated PPE, damaged packaging, and recovered liquids must be placed in suitable containers for disposal. The waste stream depends on the material spilled. A used oil absorbent does not follow the same disposal path as absorbents contaminated with corrosives or solvents.
This is where procurement and EHS planning often overlap. Sites need enough disposal bags, overpack drums, labels, and sealed containers available with the spill kit, not stored somewhere else in the facility. Cleanup slows down when responders can absorb a spill but cannot package the waste safely.
8. Decontaminate and restock immediately
After the incident, inspect tools, floors, drains, and nearby equipment. If residue remains, secondary cleaning may be needed. Once the area is safe, the spill response station or kit should be restocked right away.
This step is easy to postpone, especially after a minor event. But an empty spill kit is a hidden failure waiting for the next shift. The checklist should include a clear restocking trigger and ownership by maintenance, EHS, stores, or procurement.
Building the checklist around your site
A generic checklist is better than none, but the most effective version is site-specific. A warehouse handling oils and detergents needs a different setup than a lab, marine berth, or chemical mixing area. The checklist should reflect the liquids present, likely spill volumes, floor layout, drainage points, and response distance to the nearest spill station.
This also affects product selection. Smaller mobile spill kits work well for forklifts, service vehicles, and decentralized work areas. High-risk storage points often need larger wheeled kits, absorbent rolls, drain covers, and secondary containment nearby. In outdoor and marine environments, the response plan may also require booms, skimmers, floating absorbents, and weather-resistant storage.
For many buyers, the real question is not whether to stock spill supplies. It is whether the current stock matches the incidents most likely to happen. If the answer is no, a checklist alone will not fix the problem. The supplies must support the process.
Common gaps that slow down response
Most response delays come from predictable issues. The spill kit is too far away. The absorbents are the wrong type. The team is unsure whether the spill is hazardous. Drain protection is missing. PPE is incomplete. Waste containers are not available. None of these are unusual, but each one adds time when time matters most.
Another common gap is over-reliance on one universal kit for the whole facility. That can work in low-risk environments, but not in mixed-use industrial settings. Where flammables, corrosives, oils, and water-based process fluids are all present, zoning your spill products usually gives better control and faster response.
Training also deserves a practical approach. Teams do not need long theory sessions every month, but they do need to know where kits are located, what each kit is for, and when to escalate. A short drill around the actual spill response checklist is often more useful than a broad presentation.
What procurement and operations teams should check
If you are reviewing site readiness, look at three things together: the checklist, the equipment, and the replenishment process. A good response program connects all three. Fast delivery and stocked inventory matter because spill readiness is not just about first purchase. It is about replacement after use, expansion into new areas, and making sure critical items are always available.
Ocean Safety Supplies supports this practical approach by helping industrial buyers source spill kits, absorbents, containment products, emergency response equipment, and related site safety essentials from one supply partner. For busy operations teams, that reduces delays and simplifies readiness planning.
A spill response checklist works best when it is not treated as paperwork. It should be visible, product-matched, and easy to follow under pressure. When the next spill happens, your team should not have to figure out the process on the spot – they should already have the right tools within reach and the confidence to act fast.